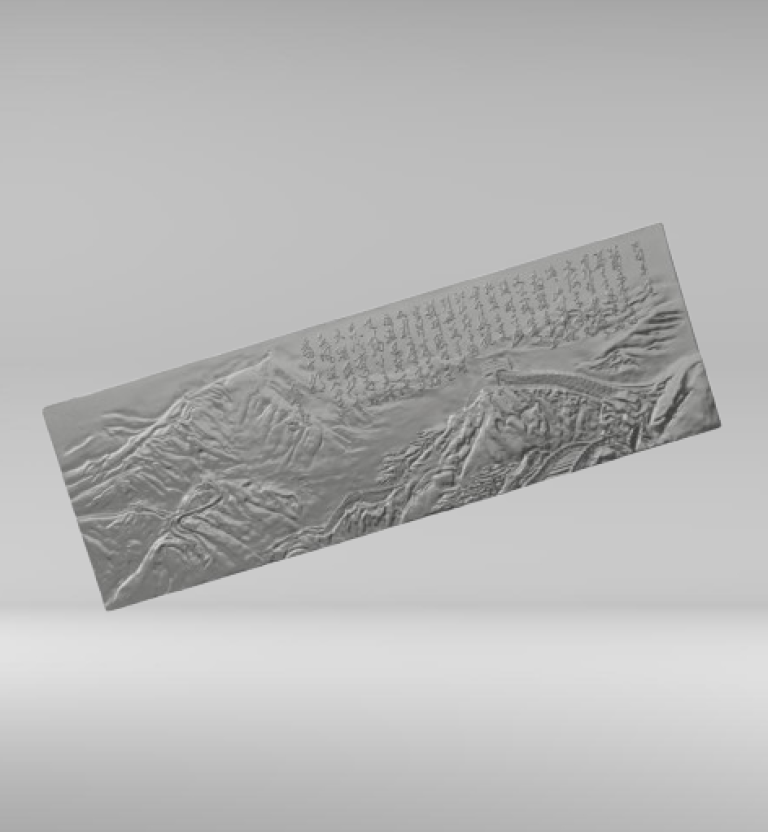
Laser 3D scanning is a cutting-edge way to measure things without touching them. It has changed the way businesses get information about the physical world. This process quickly gathers a lot of geometric and spatial data from the surface of an object to make a digital asset called a 3D Scan Model. Traditional methods can only take slow, point-by-point measurements, but laser scanning can take millions of accurate measurements in just a few seconds. Professional companies like 3DeVOK rely heavily on this technology to turn physical parts, prototypes, and even whole environments into digital assets that can be used right away. This is because of the speed and accuracy it provides. The output, a 3D model made by laser scanning, is a key part of reverse engineering, high-tolerance quality control, and full digital archiving in the furniture, manufacturing, and cultural preservation fields. To fully appreciate the usefulness of the data, you need to know how it works and what makes it special.
The Two Ways That Laser-Based Data Acquisition Works
Laser 3D scanning uses either triangulation or Time-of-Flight as its main method of operation, depending on how far and how accurately you want to scan. The principle of triangulation is most often used for high-fidelity, short- to medium-range measurements of complex parts, like those used by professional 3DeVOK systems. The scanner sends a very accurate laser line or pattern to the surface of the object. A calibrated sensor or camera, set up at a known distance from the emitter, watches how the object’s shape changes the laser line. The software can accurately figure out the three-dimensional coordinates (X, Y, Z) of every point the laser hits by using basic trigonometry and knowing the exact angle and distance between the emitter and the sensor. This constant and quick calculation makes a very dense point cloud.
The Time-of-Flight (LiDAR) principle uses a laser pulse over long distances for big projects like civil engineering, architecture, or land surveying. The scanner sends out a laser pulse and then accurately measures how long it takes for that pulse to come back to the sensor. The software can figure out how far away the surface being hit is because it knows how fast light travels. This makes a large point cloud of the environment. In both methods, specialized software connects millions of points into a continuous network of triangles after the scanning is done. This creates the final laser scanning 3D model, which is a polygon mesh file that accurately shows how the object is shaped.
The Laser Scanning 3D Model Has Its Own Special Features
The 3D Scan Model, which is the digital output of the laser scanning process, has unique features that make it useful. It is essentially a static, non-parametric depiction of reality. A laser scanning 3D model captures the object exactly as it is, including any small surface flaws, manufacturing defects, or wear that has built up over time. This is different from a model made in traditional CAD software, which has mathematically perfect features and an editable history. One of the best things about using this as a reference for inspection is how closely it matches the real world.
The model has a very high polygon count because it starts out as a mesh, which makes the files very big. This dense data guarantees the capture of remarkably intricate details, yet it requires subsequent processing. A mesh cannot be changed directly by an engineer; instead, it is a fixed geometric reference template. The model is also prone to the same kinds of errors that happen when you measure something physically, like geometric noise and gaps where the scanner’s line of sight was blocked. So, a very important next step in the professional 3DeVOK workflow is to use specialized 3D reverse engineering software to process and optimize this raw mesh data. This will fix any problems, make the file smaller by decimation, and get the model ready for its intended use, whether that is metrology or changing it into a mathematically perfect CAD file.
Different Uses in Professional Workflows
For many important professional uses, the digital data that laser 3D scanning creates is very important. In Reverse Engineering, the highly accurate 3D Scan Model is the best source material for making new, editable CAD files when the original blueprints are lost or when old parts need to be improved. Engineers use the model to figure out what the designer meant by carefully fitting mathematical primitives and NURBS surfaces onto the scan data.
In Quality Control and Metrology, the laser scanning 3D model is directly compared to the original master CAD design to make sure that the manufacturing is accurate all over the part. The complete surface data makes it easy to quickly analyze deviations across the entire field. This is very important for industries with high tolerances, like furniture and medical device manufacturing. Also, laser scanning is very useful for Digital Archiving and Preservation because it lets us study and keep fragile or historical artifacts that can’t be moved or touched forever. Laser 3D scanning is a key technology that speeds up product development, makes quality assurance easier, and creates a reliable digital bridge between the real world and the virtual world. This is because it can quickly and accurately digitize complex, custom, or worn-out parts.
